Drywall Repairs in Austin That Set the Stage for a Perfect Paint Finish
Bad drywall repairs stand out. You see the patches, the cracks, the mismatched texture, especially when the light hits just right. Most repairs get rushed, and it shows. No paint can cover up a sloppy job. If you want your walls to look sharp, the prep has to be solid from the start.
Spotting the Real Damage
Most wall problems hide in plain sight. You see the obvious holes, but the real trouble shows up in the details. Hairline cracks snake out from window corners. Nail pops leave tiny bumps that catch the light. Water stains hint at leaks behind the drywall. Dents from chairs, gouges from moving furniture, and those odd bulges where someone tried to fix a seam but left it lumpy, these are the things that ruin a paint finish.
- Cracks wider than a pencil need more than a dab of spackle
- Soft spots signal moisture or failed repairs under the surface
- Popped nails must be reset, not just covered up
- Texture mismatches from old patches show through every coat
- Damaged corners cast shadows that paint can’t hide
Walk each room with a bright light. Run your hand over the walls. Mark every flaw, no matter how small. This isn’t busywork. It’s the only way to avoid callbacks and endless touch-ups. When you’re planning interior painting, this step sets the tone for everything that follows.
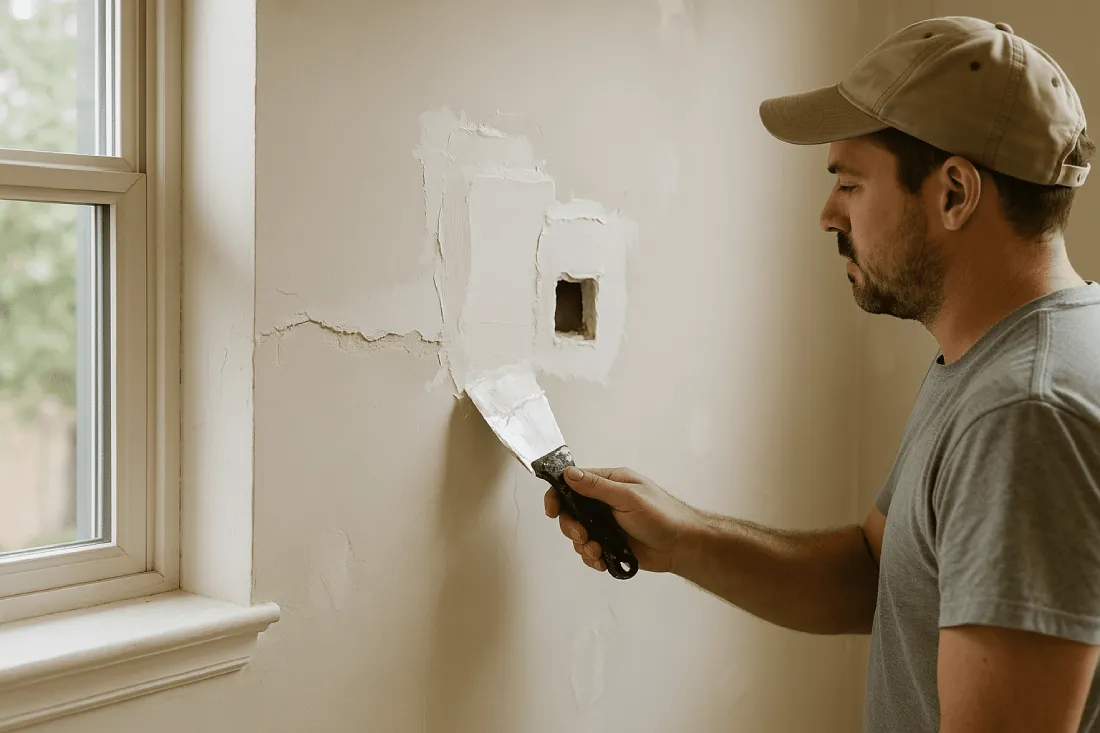
Getting Patching Right
Quick fixes don’t last. Small holes need lightweight spackle, but anything bigger calls for a real patch. Fist-sized damage? Cut it out, add a backer, and rebuild the surface. Just smearing mud over a hole leaves a weak spot that cracks again. Every repair has to be solid before it can look good.
For nail holes and tiny dings, one coat works. For deeper damage, layer the compound, each pass a little wider, feathered at the edges. Let it dry between coats. Rushing this step leaves ridges and dips that show up under paint. Tape off baseboards and outlets before you start. Compound spreads, and scraping it off trim later wastes time. When you’re dealing with popcorn ceiling removal, expect extra work. Old adhesive and uneven surfaces fight every patch, so patience matters.
Sanding for a True Finish
Most DIY repairs fall apart at sanding. People patch, wait, and paint, then wonder why every fix stands out. Sanding isn’t a suggestion. It’s the difference between a wall that looks smooth and one that screams “repaired.” Use a sanding block or pole sander with fine-grit paper. Work in long, even strokes. Don’t gouge the surface. Don’t leave high spots or ridges. Always wear a dust mask. Drywall dust gets everywhere and lingers for days.
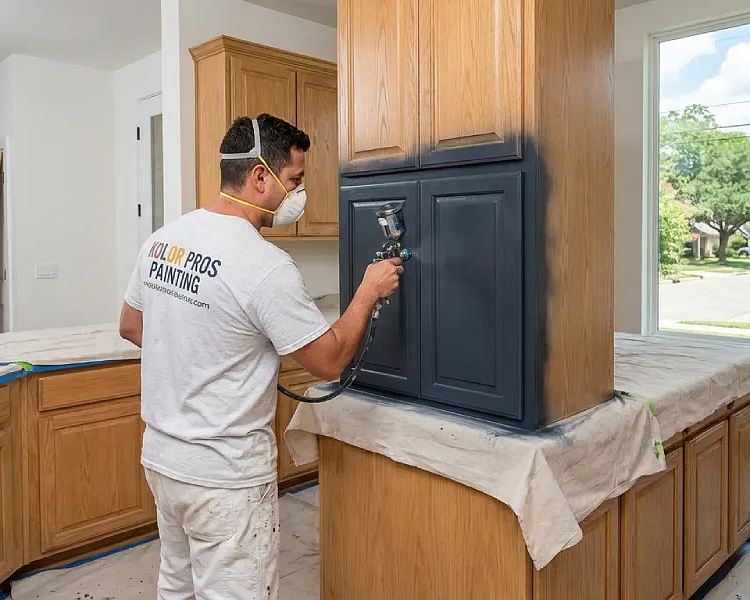
After sanding, run your hand over the repair. It should feel like the rest of the wall, no bumps, no dips. This is the step that makes cabinet painting and refinishing or wall painting look professional. Skip it, and every imperfection will show through, no matter how many coats you roll on.
Priming Every Repair
Unprimed drywall compound soaks up paint unevenly. The result? Blotchy, dull spots that ruin the finish. Primer seals the repair, evens out absorption, and gives the topcoat something to grip. Don’t trust paint-and-primer-in-one for this. Use real primer. Spot-prime every patch, let it dry, then prime the whole wall if you’re repainting the room. This step also reveals any flaws you missed. See a ridge or shadow? Fix it now. Once the color goes on, those mistakes are locked in.
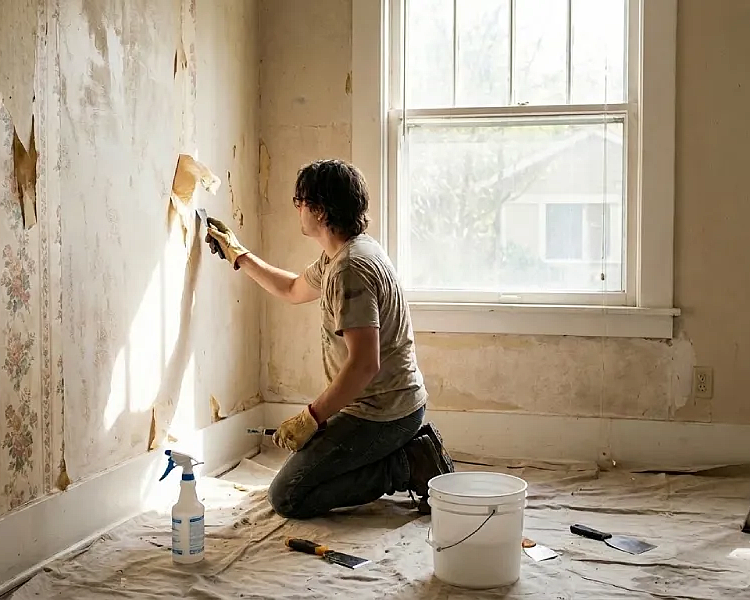
Matching Texture That Blends
Flat walls are simple. Textured walls demand skill. Orange peel, knockdown, skip trowel, each one needs a different approach. Light textures can be sprayed from a can, but heavy patterns need a hopper gun or handwork. Always practice on scrap first. Texture is unforgiving. Overshoot it, and you’re sanding again. Custom or aged textures take real experience to match. Many wallpaper removal jobs end up as full re-textures because the old surface never matches the rest of the room. If the patch stands out, the whole wall looks off.
Keeping Cracks from Coming Back
Fixing a crack is one thing. Stopping it from returning is another. Most cracks reappear because the cause never got fixed. Foundation settling, humidity swings, bad seams, these problems don’t disappear with a coat of mud. Use mesh tape on seams and corners. Apply thin coats, not thick globs. Let each layer cure before adding the next. In older Austin homes, shifting is common. Flexible caulk along ceiling lines and trim joints absorbs movement that would split rigid compound. Prevention here saves you from repainting the same spot every year.
- Mesh tape holds seams together in high-movement areas
- Flexible caulk at trim joints stops hairline cracks
- Good airflow keeps humidity from wrecking drywall
- Fixing foundation issues stops cracks at the source
- Choosing the right compound for each job keeps repairs solid
Once the prep is right, painting becomes the easy part. Skip any of these steps, and you’ll see see the mistake every time you walk by. Drywall work isn’t flashy, but it’s the backbone of every great paint job. In Austin, where homes settle and weather shifts, cutting corners on wall prep guarantees a finish that disappoints.
Ready for Drywall Repair in Austin
Need walls that are actually ready for paint? Our team at Kolor Pros Painting handles the full process, from identifying damage to delivering a finish that holds up. We take satisfaction in making sure every patch, texture, and repair is done right so your paint job looks flawless. If you want drywall repairs that truly set the stage for a perfect finish, let us show you the difference our experience makes. Call 512-677-2397 or reach out online to get started.
‹ Back
Recent Posts
-
-
-
-
Can Interior Painting in Austin Help Brighten Small Rooms?
April 30, 2026
-

How Often Should You Repaint Your Austin Home Exterior?
April 16, 2026